Mycelium Intro
Today I was able to join a mycelium introduction session at the bio lab at HKU IBB. Mycelium is probably going to play a big role in my project, so it was nice to learn some of the basics and start working with it.
What is mycelium?
// I’ll update this soon with pictures when I get the slides from the introduction
Mycelium is the network of roots (hyphae) of the fungi. They are the main part of fungi, the mushrooms are only the fruits of the mycelia. Mycelia digests organic material, absorbs its nutrients, and makes them available for other organisms. Therefore it plays an important part in our ecosystem.
Mycelium as a material
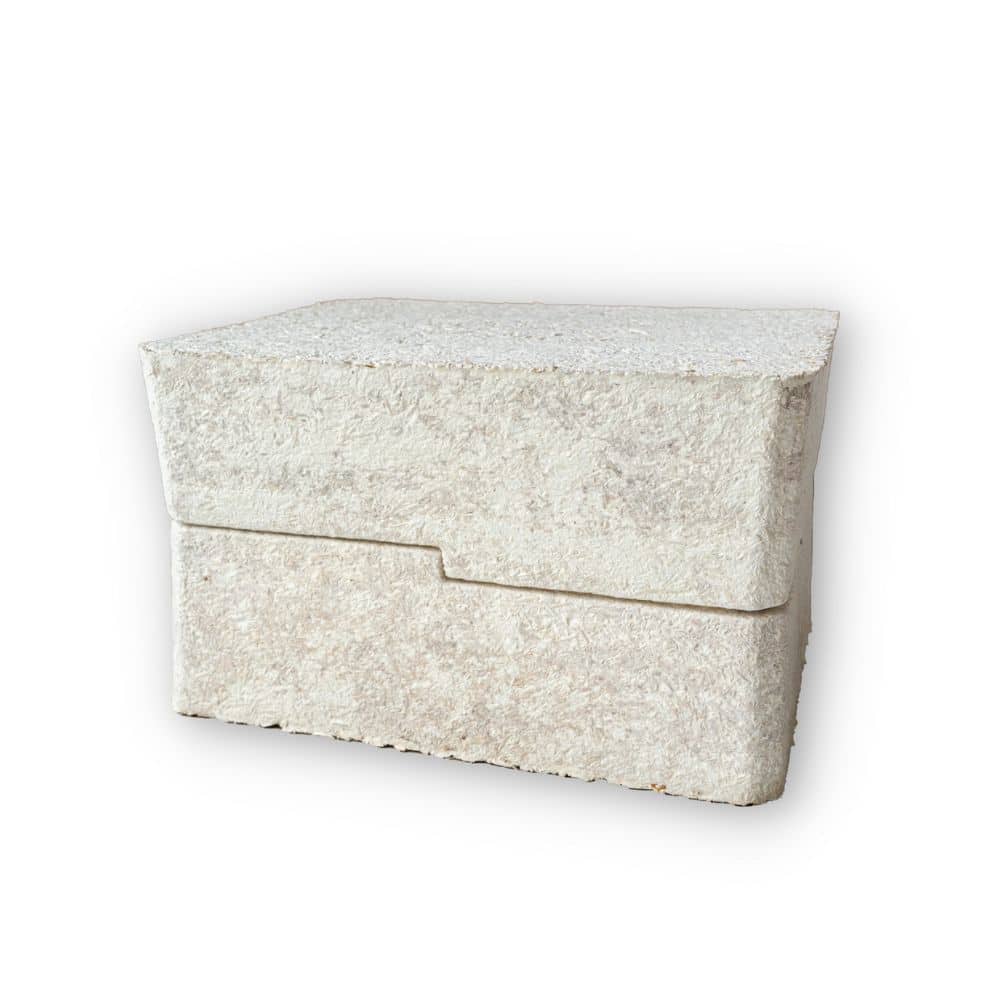
Mycelium, under the right circumstances, can easily be grown at home or in a simple lab. When dried, the mycelium can be extremely strong and can be used as a building material. A lot of designers already used mycelium as a biomaterial in many different applications.
One of the main benefits of using mycelium as a biomaterial is that it’s completely biodegradable and inexpensive to use. The cons of using mycelium for my project is that it’s hard to make heat and humidity resistant.
One of my favorite inspirations is grown.bio. They make packaging out of mycelium. They also have an example of a coolbox on their website, which could be a good example for my project.
Working with mycelium
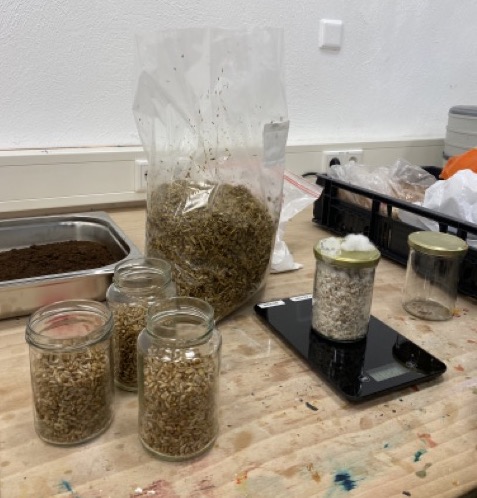
We started with the practical stuff before diving into the theoretical part. Because I want to work with mycelium a lot it’s a good idea to stock up on a nice supply. To make the starter culture I inoculated rye with an existing culture.
I did that with the following steps:
- Soak rye grains for a night, drain them, and let them dry.
- Fill a glass jar for 2/3th’s with the rye, add 1% calcium sulfate and 5% hennep fiber (the substrate I’m going to use is mainly hennep so it’s good to introduce a little bit of hennep in the starter).
- Autoclave the jar.
- Let the jar cool till at least 30 degrees. Inoculate the mixture in the jar with an existing culture (the contents of the jar were still too hot so i’ll do this step next Monday).
- Label everything.
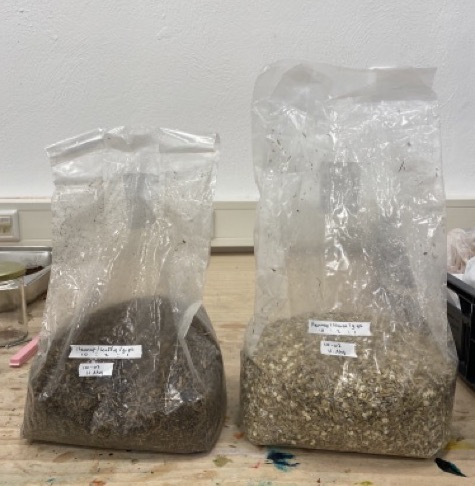
I also prepared a substrate for the mycelium to grow on.
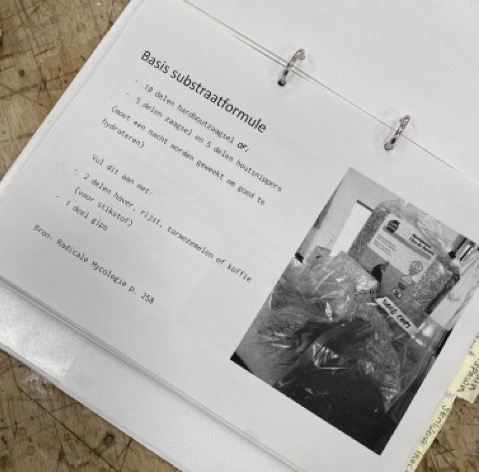
- Soak substrate (i used hennep fiber) for a night.
- Per 10 parts hennep add 2 parts of a nitrogen source (i used coffee for one bag, and oats for another) and 1 part calcium sulfate. Put this all in a bag (forgot the special name of the bag, will add it later).
- Autoclave the bag.
- Let the substrate mixture cool to at least 30 degrees before inoculating. Again, will continue on Monday.
- Label everything.
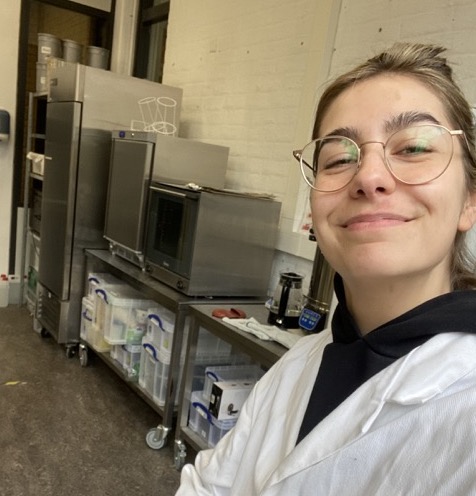
Bonus: my happy face when working @ the lab:
Theoretical stuff
The substrate is the mixture that will be placed in a mall to make the desired product. The mycelium will grow through the whole substrate creating a complex network structure. Then the mycelium will be baked which kills the growing process and will leave us with the end material
Different substrates will create different textures and strengths. When agitated by using different substrate mixtures, the mycelium will create a stronger network, but will also grow slower. For fast results, use the same substrate as the mycelium is already introduced to.
Examples of different substrates:
- Pure fine hennep fiber -> creates a nice smooth texture and strength.
- Petshop hennep -> this is not a 100% hennep source and contains different size fibers. This will be visible in the end product. (i want to experiment by blending the fibers into smaller particles to see if it improves texture. Too fine particles will decrease strength).
- Cardbox and maizena -> strong and lightweight
- Almost everything cellulose/carbon-based will do, even cigarette butts are being used.
Interesting to look at waste streams as a substrate source. Maybe a local brewery or restaurant.
Interesting stuff to look up
mycelium-tectonics.com (science and mycelium)
Stella McCartney (mushroom leather)
Atlast -> bacon from fungi (polypore)
Homegreen (grow it yourself)
Emma van der Leest (bioartist)
This intro also sparked interest in a new hobby: at-home mushroom growing. More about that soon.
Update 13-03
I went back to the lab to inoculate my substrates.